Homebrew IR-only camera
First, I want to mention that IR photography is NOT thermography! While thermography uses the wavelengths from 1 µm down to about 14 µm, with this mod you will be able to capture images in the range of 850 .. 900 nm (depending on the filter used) down to 1 ..1,5 µm (so only temperatures above 400 .. 450°C will appear as light (look at the pic of the soldering iron in the gallery!).
After visiting some webpages I wanted to take some infrared pictures because
it's an interesting way to "see the world through different eyes".
My first attempt to shoot infrared was made possible by buying an infrared-only
pass-filter for my DSLR, but the disappointment was very large when I received
it: mounting in on my camera, it took me exposures > 30sec. to achieve
a photo with acceptable contrast in direct sunlight! So it would be impossible
to shoot people or moving objects ...
After some "googling" I found out that the reason for this problem is the IR-blocking filter installed on the CCD-Sensor (the sensor which converts the incoming light into electrical information): This filter avoids that infrared light reaches this sensor cause this could lead to bad colors and overexposures.
With this knowledge I decided to build my
own infrared sensitive camera.
Due to good experiences with my old Sony Cybershot P71 (pocket camera, 3,2MPixel,
3x optical zoom, noise reduction, up to 2sec. exposure time) I searched for
this camera at eBay and found a model for a few Euros with some minor bugs.
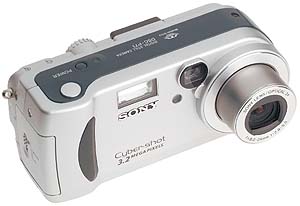
Sony DSC-P71
After removing the back cover the camera is very "service-friendly":
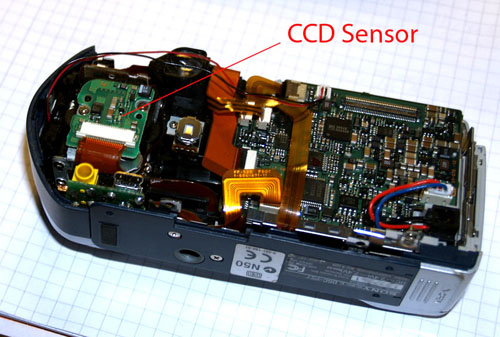
P71 with removed back cover
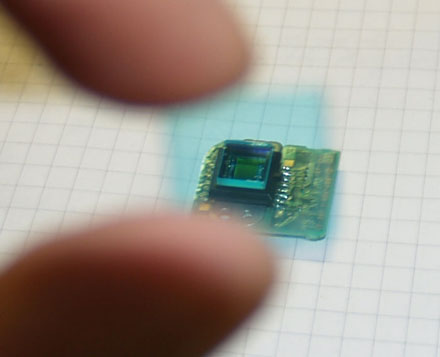
Now remove the two mounting screws of the CCD Sensor, unplug the cable and remove the sensor circuit board.
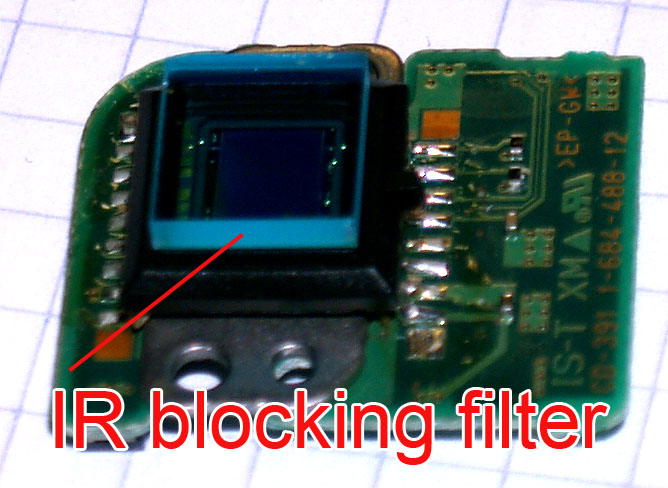
View of the CCD PCB with IR filter
Removing of the IR-blocking filter is quite easy; just grab the filter with a caliper and turn it carefully, on two cameras this method worked without damaging the sensor (the glass filter is glued on the CCD with only little glue or is just pressed against some adhesive-coated rubber sheet).
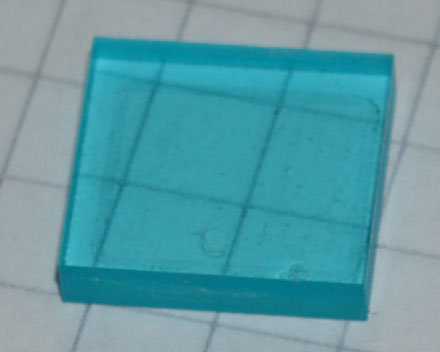
Left: IR-blocking filter: red colours are well attenuated; Right: View through
the IR blocking filter
When you got this, you could reinstall the
CCD assembly back into your camera but be aware that removing the glass changes
the aperture of the focus adjustment!
In my first attempts I was unable to get any sharp images due to this! Then
I tried if it works with a piece of normal glass (from the old windows in
our house) instead of the IR filter, so I've cut two rectangles with 2 mm
and 3 mm thickness. The original IR filter was about 2,4 mm thick but with
the 3mm glass the autofocus worked great!
But shooting IR and visible spectrum at the same time wasn't really satisfying, there was too much red in the pictures and the "IR effects" were reduced by the strong sensitivity of the sensor in the visible range which overlayed the IR.
So the next step was replacing the IR block
filter with a IR-pass-only filter!
A few years ago I got an IR filter glass used in UdSSR tanks for aiming illumination
and observations with night view devices.
This glass is about 3mm thick and has a diameter of 20cm.
Because I had no real use for this, I decided to take the glass cutter to
cut out a piece 11x11 mm and mounted it in front of the CCD chip.
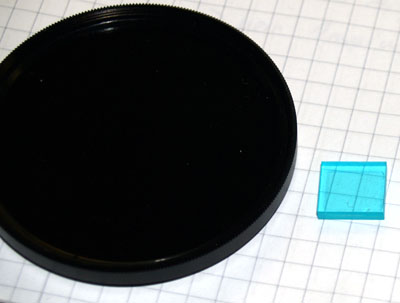
IR-pass-only filter (left) and IR blocking filter (right)
As you can see in the picture above the IR-only
filter appears black because all visible light is "locked out".
Same filters captured with the modded camera:
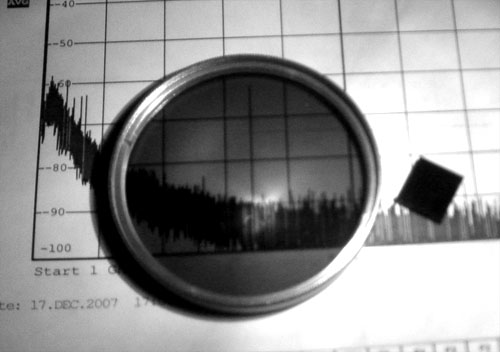
Now the IR-pass filter is transparent and the blocking filter is black
The picture through the IR-pass filter is darker than the background cause this filter only lets pass wavelengths > 900nm while the "tank IR glass" installed in the camera is transparent above ~820 .. 850 nm so there comes more light through.
There's still plenty room for optimisations, especially with the filter surface (while cutting I made some scratches into its surface; when I have time I'll try to cut a new piece of filter glass ...) but perhaps I could show you an easy (and cheap!) way of doing infrared shots without special equipment and you are eager to give it a try, too!